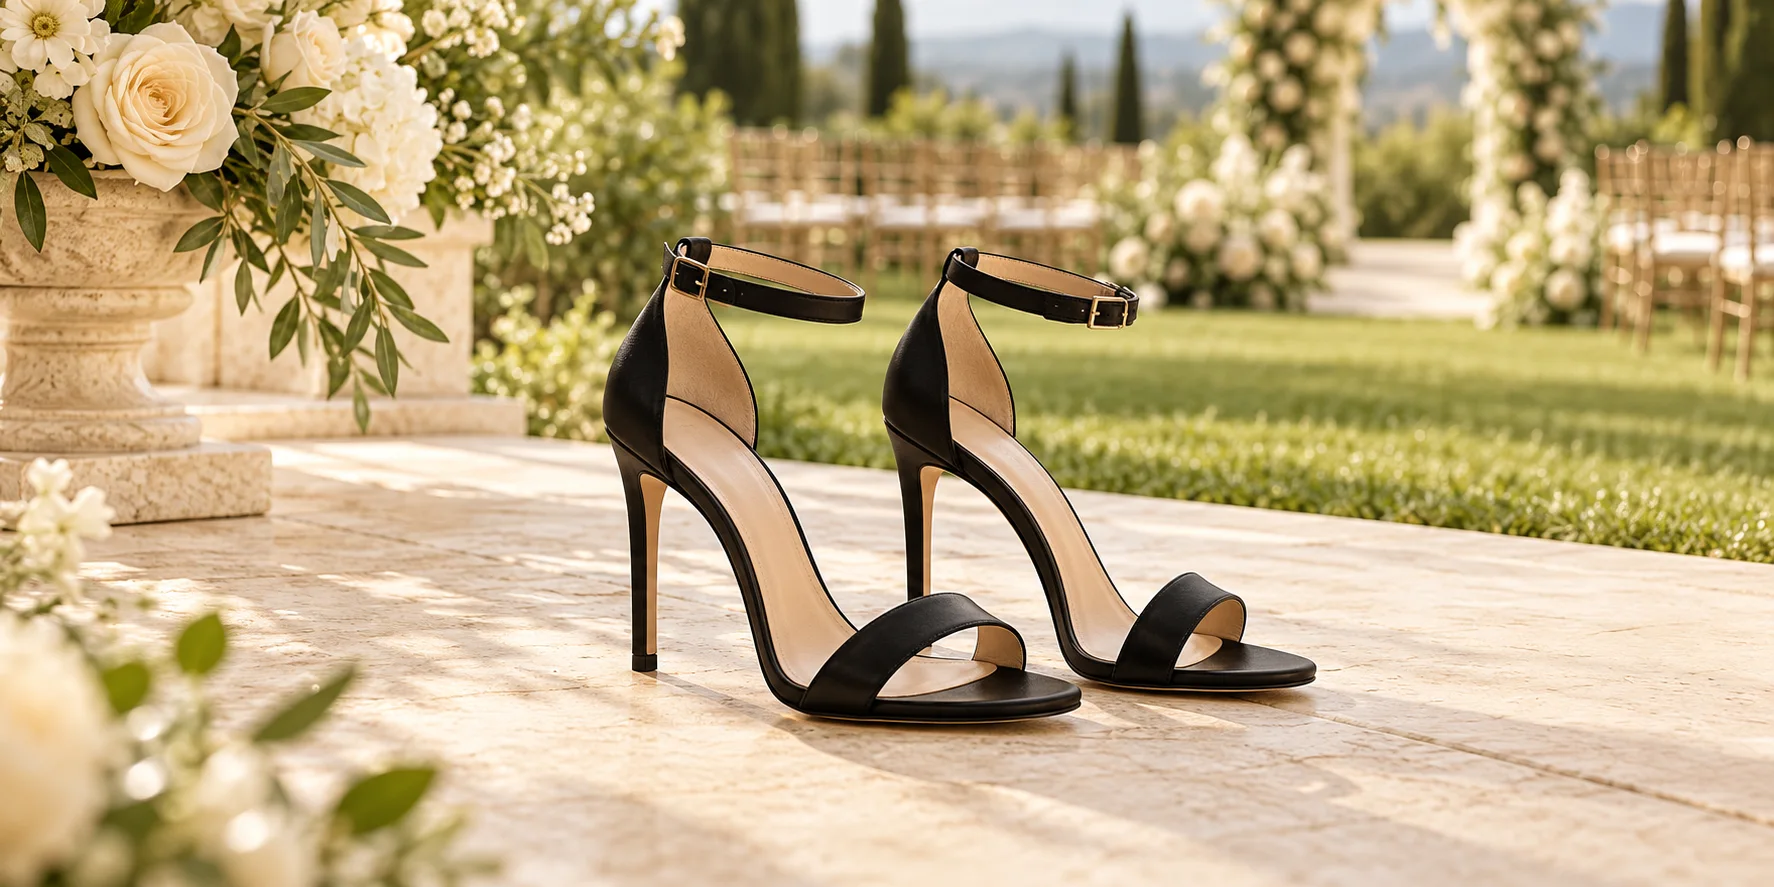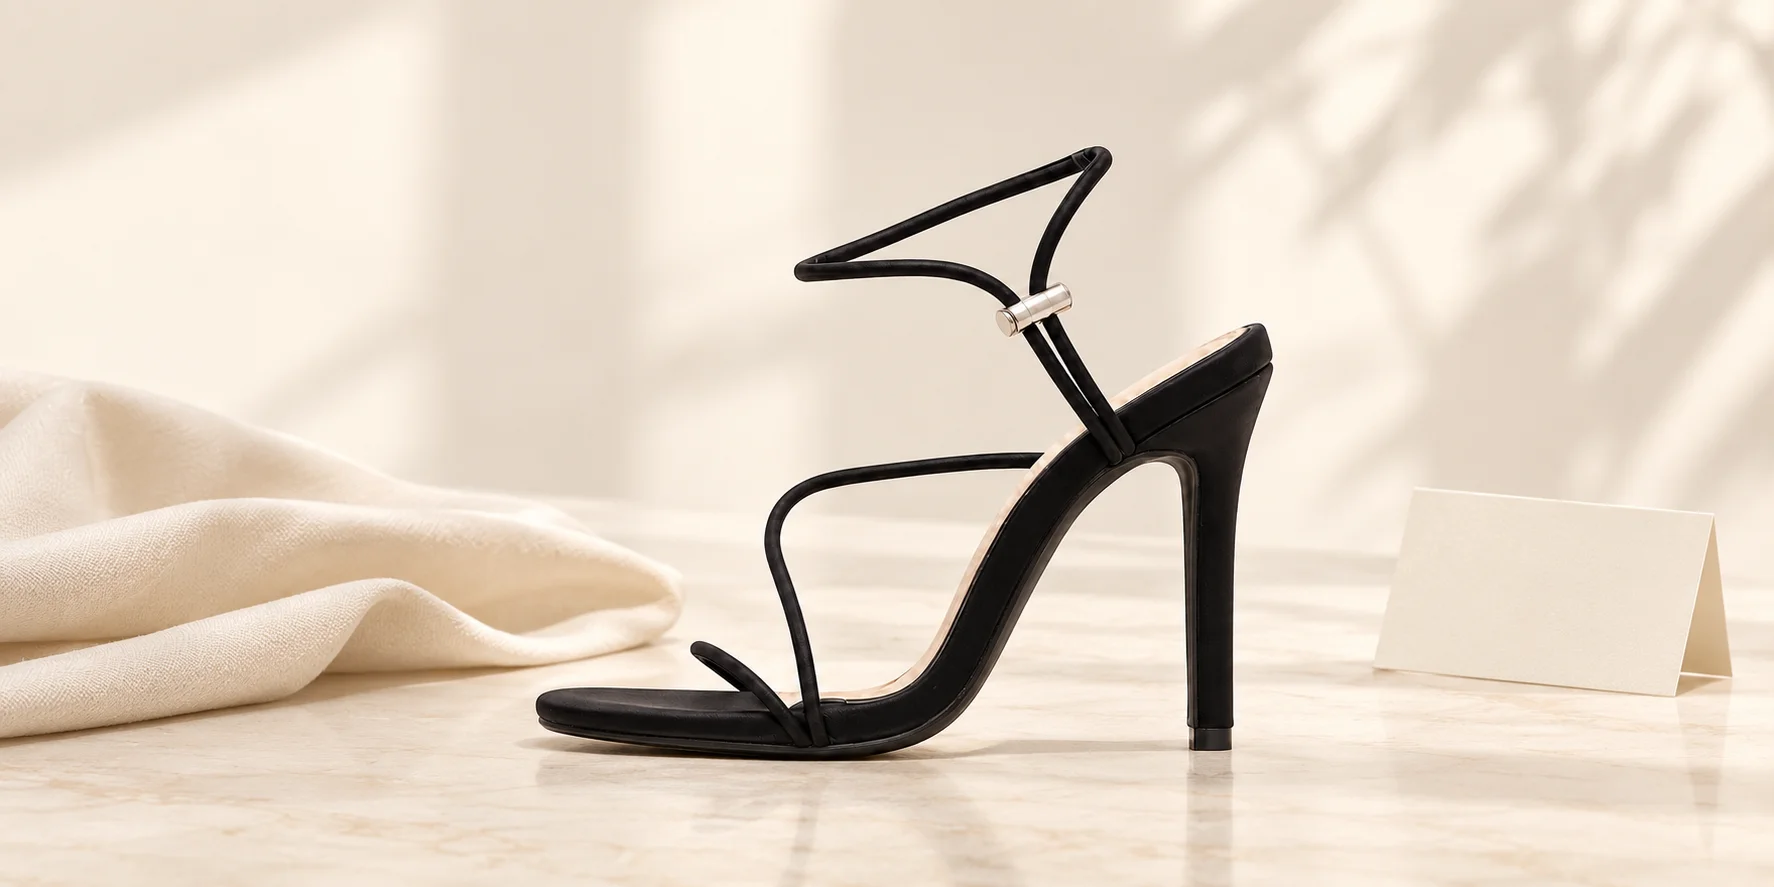
Arrange a heel-tip replacement when the small contact piece at the bottom of your stiletto is wearing down, before the inner heel or pin becomes exposed. If the tip is missing, broken or worn through, set the shoes aside for assessment. A loose or cracked heel needs a broader repair check, not simply a new tip.
You do not need to identify a replacement part yourself before contacting a cobbler. The useful first step is to show where the problem is, describe what changed and ask what the repair would involve. This guide helps you prepare that conversation without pulling anything out of the shoe.
Identify Which Part Needs Attention
The heel tip is the small wear piece at the bottom of the heel, where it touches the ground. It may also be called a heel cap or top lift. It is different from the tall heel above it, the material covering that heel, and the point where the heel joins the shoe.
Manolo Blahnik’s product-care guidance recommends replacing tips when they begin to wear down, before the inner heel shows, and using a reputable cobbler. That is a condition-based check rather than a fixed number of outings.
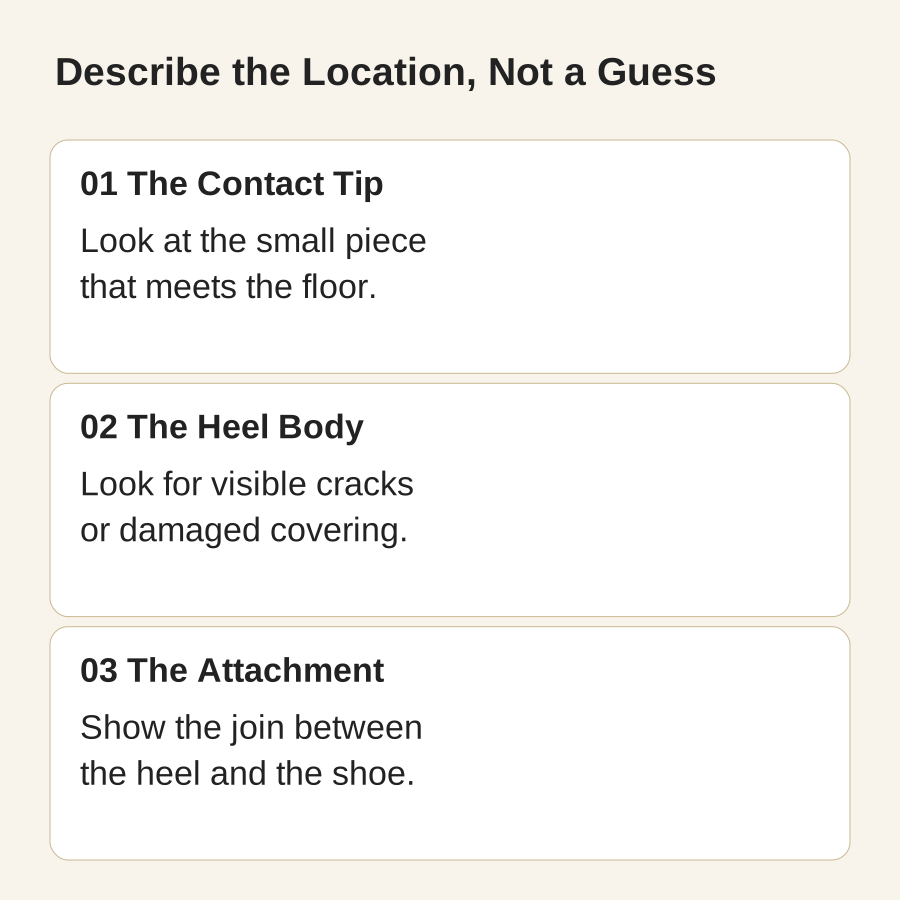
On a clean surface in good light, look at both shoes from below and from the side. Notice whether a tip is wearing at an angle, has lost a piece or has become thin enough to expose the part inside. Look farther up for a crack, lifting covering or separation at the attachment. Describe what you see; do not bend or twist the heel to test its strength.
If the heel feels loose or looks damaged, stop wearing the pair and ask for a structural assessment. Heel Quik’s repair service distinguishes ordinary tip replacement from bent-pin and broken-heel work, which depend on the damage and parts required. A new contact piece cannot establish that the rest of a damaged heel is sound.
Treat a New Metallic Click as a Clue
A new metallic sound on a hard floor is worth investigating, especially if the shoes previously had intact plastic or rubber tips. Houston Shoe Hospital explains that wear can expose the pin holding a thin heel cap in place. It recommends seeking repair before that happens; an exposed pin does not automatically mean the whole shoe must be discarded.
Sound alone is not a diagnosis. Some shoes are deliberately fitted with metal tips: Baxter & Black’s metal-tip service explicitly describes their clicking sound. Compare what you see with the shoe’s original construction or ask the maker if you are unsure. Do not keep walking to reproduce a noise when a tip is visibly missing or the heel feels unstable.
Send a Useful Repair Enquiry
Instead of sending only a close-up of an unidentified black component, give the repairer enough context to understand the pair. Our suggested photo set separates the overall shoe from the contact surface and the heel attachment.
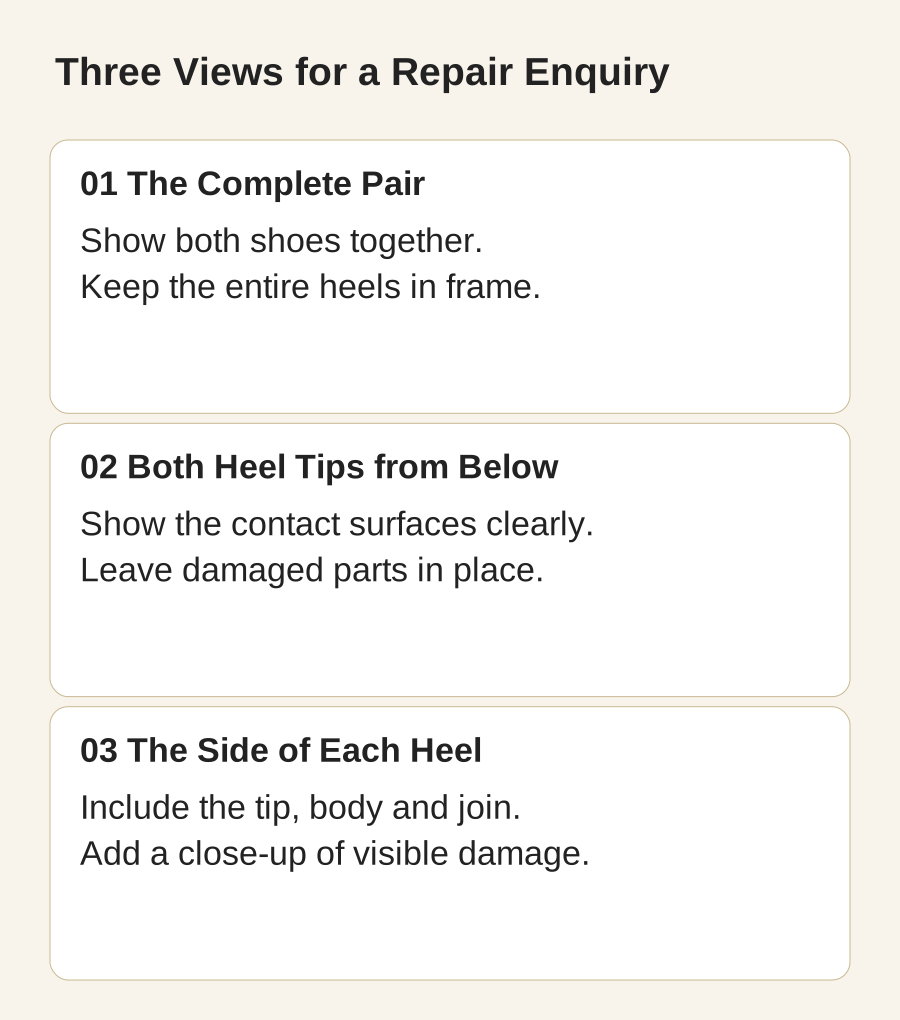
- Photograph the complete pair. Include the shoe shape and both heels. A general view helps the repairer relate the detail to the whole sandal.
- Photograph both contact surfaces. Hold the shoes still with the bottoms visible and the image in focus. Do not remove a damaged tip to make the picture clearer.
- Photograph the side of the affected heel. Include the bottom, covering and join beneath the shoe. Add a closer image of any visible crack or separation.
- Describe the change. Say whether you noticed a new noise, a missing piece or movement in the heel, and whether it happened suddenly or developed gradually.
A concise message could be: “Could you assess this pair of stiletto sandals? The right heel tip has worn unevenly and I noticed a new clicking sound. I have stopped wearing them. Do the photos suggest a tip replacement, or do you need to inspect the heel structure too?” Replace those details with what actually happened to your shoes.
Photos support an initial enquiry; they cannot reveal every internal problem. Be prepared to bring or send the pair for inspection before the repairer confirms the work.
Ask About the Part, the Pair and the Finish
Before approving the repair, ask these practical questions:
- Is the damage limited to the tip, or does the heel itself need work?
- Should both tips be replaced, given the condition of each shoe?
- Which replacement material and shape suit this pair?
- Will the visible color, outline or heel covering change?
- What is the total quote and expected completion time after inspection?
A shoe size does not identify a replacement tip. A replacement also needs to suit the heel’s construction; do not assume that a cap with a similar outline has the correct fitting. Baxter & Black’s heel-tip service describes choosing among different tip sizes and metal pin sizes. Those are repair-part measurements, not a sandal-size conversion.
If your shoes came with spare tips, take those along and let the repairer assess them. Do not force in a part that does not fit, drill the heel or improvise with glue just to keep wearing the pair. Ask the seller first about a newly delivered shoe with a defect, before altering it.
Keep Repair Parts Separate from Outdoor Accessories
A replacement tip renews the contact piece. An accessory fitted around a heel to broaden its footprint serves a different purpose. Do not assume a grass protector repairs a missing tip or a loose heel. Our outdoor-wedding shoe guide covers the separate question of surfaces and accessory fit.
The Slim-Strap Stiletto Sandals are an example of a slender-heeled, open-toe design. Their product information does not specify a replacement-tip part number. A product photograph or the word “stiletto” is not enough to select a compatible repair part.
Check the Returned Pair Before Your Next Outing
Ask the repairer what was replaced and whether any other work is still needed. Look at both shoes before leaving, then follow the repairer’s instructions for checking them. If a tip moves, the heel still feels loose or the pair feels different in a concerning way, return for assessment rather than trying to wear through it.
Once the pair is ready to use again, keep the soles and heels in your usual pre-outing check. Our storage guide explains how to keep straps, buckles and embellishments from pressing against one another between wears. Good storage and timely repair address different kinds of wear; neither replaces a suitable fit.