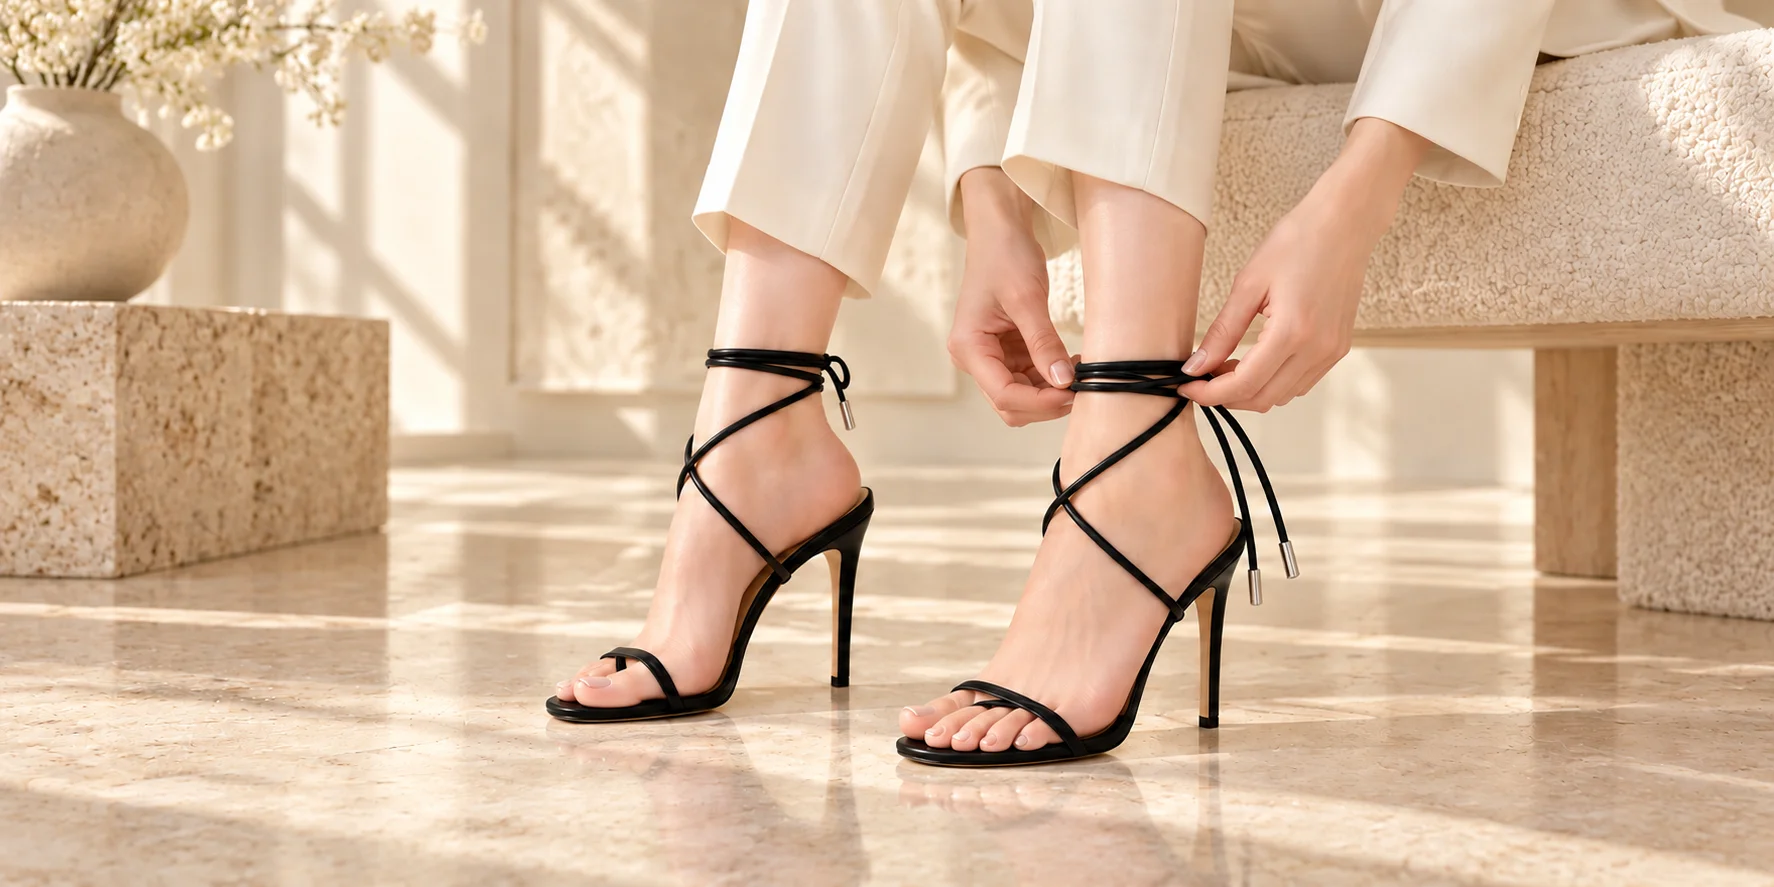
To tie lace-up heels, settle your foot in the sandal first, follow the ties’ intended path, and start with a low ankle wrap before finishing with a bow. Then stand and take a few steps. If the ties slip, identify what is moving before pulling them tighter: an opening bow, a sliding wrap and a foot slipping inside the shoe need different responses.
This approach is for sandals with two free lace ends designed to wrap around the ankle or leg. Follow any instructions supplied with your pair. Fixed decorative straps, buckled ankle straps and structured wrap straps should not be rerouted as though they were loose laces.
Check the Ties Before You Start
Place both shoes in front of you and find where each tie attaches. Separate the two ends and smooth out any twists. Leave sewn-in crossings, loops and fixed straps where the maker has placed them. You are arranging the free ties, not redesigning the sandal.
Look at the length available on each side. Unequal loose ends can leave you with a large loop on one side and too little cord to finish the other. If the ties slide through a guide designed for adjustment, even them out gently. If they are fixed in place, work with their actual lengths rather than tugging on the attachment.
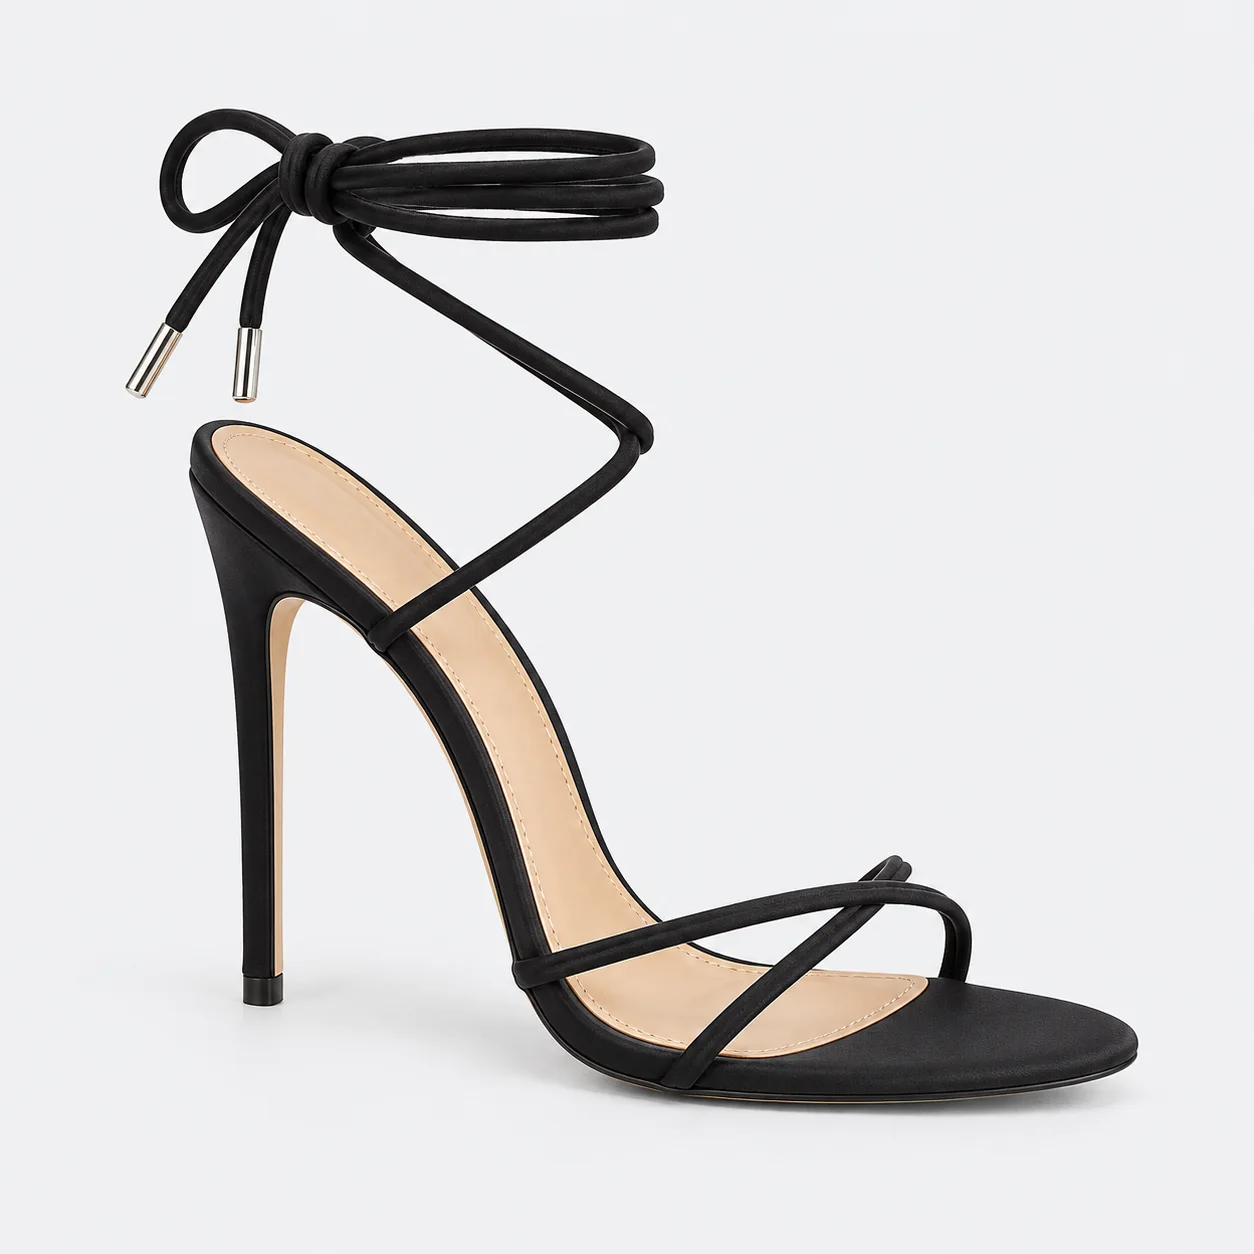
The Syncreas Wraparound Lace-Up Stiletto Sandals are one example of the construction discussed here: their product details identify crossover forefoot straps and long ankle ties. The product gallery helps distinguish those ties from the straps already attached across the foot.
Start with a Low Ankle Wrap
A low wrap is a useful starting point because it gives you a simple arrangement to assess before experimenting farther up the leg. Lulus’s lace-up heel guide presents both ankle-level and higher crisscross styles. These are styling options; no wrapping pattern guarantees that every sandal will stay in place on every wearer.
- Sit down and position your foot. Put your heel and toes on the footbed as intended, with the front straps lying flat. Do not use the ankle ties to pull a poorly positioned foot into place.
- Bring the free ties around the ankle. Follow the route shown for your shoe. Where the design allows, cross the two loose ends behind the ankle and bring them forward again, keeping the cords flat rather than twisted.
- Use only the wraps the available length permits. Leave enough cord for two bow loops and two ends. There is no required number of turns. If an extra wrap leaves only tiny ends, undo that turn.
- Choose an accessible finishing point. The front or side can make the bow easier to reach. Keep it clear of a spot where it presses against the ankle or catches the other shoe.
- Secure the bow, then check the whole wrap. The knot should hold the arrangement without requiring you to cinch the cords hard against your leg. Reposition or loosen any section that feels uncomfortable.
Keep the first attempt simple. Adding more crossings while you are still sorting out the knot makes it harder to see which part needs adjustment.
Finish the Bow without Cinching the Wrap
If you use an ordinary shoelace bow, make the initial overhand crossing, form a loop with one end, pass the other end around it, and draw a second loop through. Pull on the loops to settle the bow while keeping the surrounding ankle wrap at the tension you chose.
For a close-up sequence, Ian Fieggen’s standard shoelace-knot tutorial shows the individual moves. His explanation of an unbalanced “granny knot” also shows why reversing one stage can correct a bow that twists and loosens. That addresses the knot, not whether the ankle wrap fits your leg.
Keep loops and tails clear of the floor and heel. If the ends remain excessively long after a sensible wrap, check the manufacturer’s recommended arrangement instead of cutting them. Do not route loose cords beneath the walking surface of the sole to use up length.
If the Ties Slip, Check What Is Moving
Before changing anything, look at the bow and the position of your foot. The following checks separate three problems that can all feel like “my lace-up heels keep falling down.”
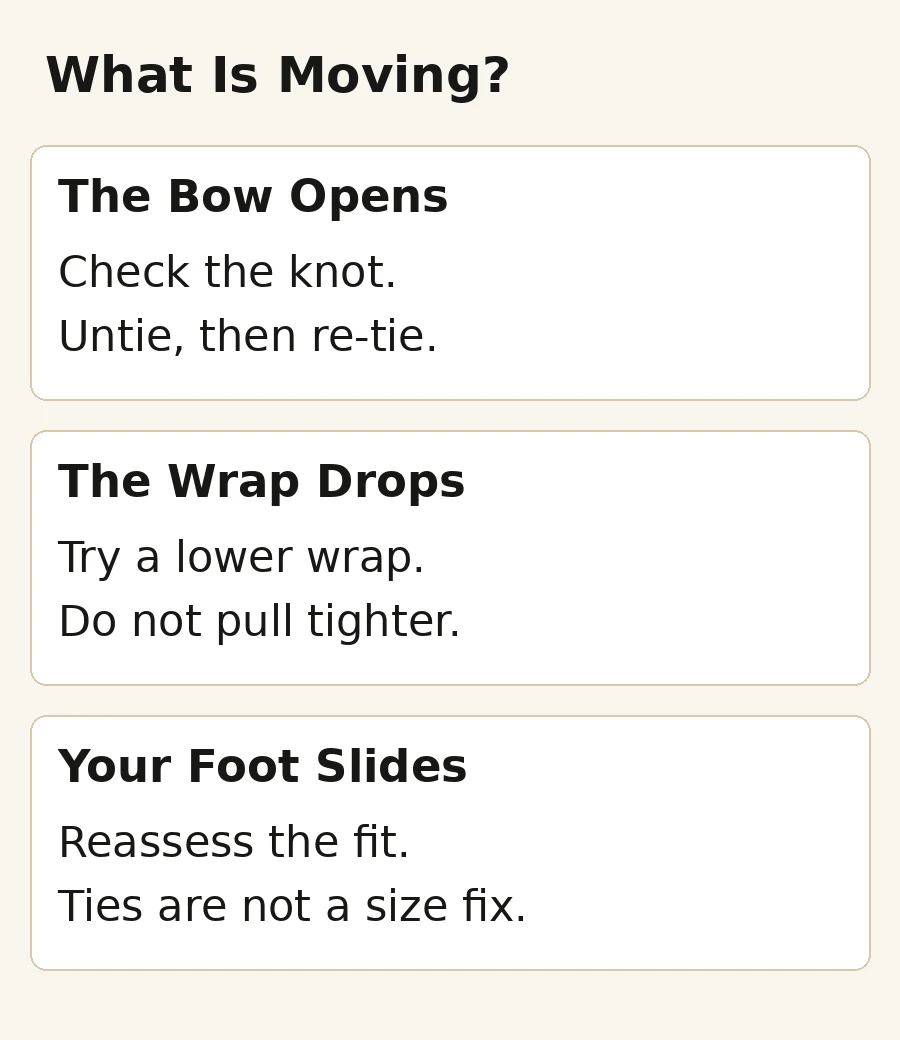
The Bow Comes Undone
If the wrap stays where you put it but the bow opens, undo the knot completely and tie it again. Check that you have usable loops and ends rather than an almost-exhausted length of cord. Practice the knot off your foot if that makes the sequence easier to see. A different wrapping height alone does not correct an incorrectly tied bow.
The Bow Holds but the Wrap Slides Down
If the knot remains tied while the whole arrangement moves down, try a lower, simpler wrap that the shoe’s tie length allows. Change one thing at a time and repeat the movement check. Avoid responding with progressively tighter turns. If you cannot find a position that stays put without discomfort or constant attention, choose another fastening design for the outing.
Your Foot Moves inside the Sandal
If your toes keep advancing or your heel shifts off its intended position, pause the lacing experiment and reassess the sandal itself. Look at the footbed and front-strap fit as well as the ankle ties. Our foot-measuring guide explains how to compare your measurements with the exact product’s chart. Pulling the ankle ties harder is not a substitute for a suitable fit.
Check the Arrangement in Your Outfit
During a permitted try-on, stand, take a few normal steps on a clean indoor surface, turn and sit again. Follow the returns policy and the conditions that apply to your order. Stop and remove or adjust the shoes if they pinch, hurt or feel unsteady.
- Does the bow remain tied?
- Do the wraps stay in the position you chose?
- Are the loose ends clear of the heel and floor?
- Does a trouser hem catch the knot when you step or sit?
- Are you repeatedly stopping to rearrange the ties?
A higher crisscross pattern can change the appearance, but it also means a different arrangement to check. Do not assume that a successful low wrap proves a higher one will behave the same way. The tie length and the individual shoe still set the limits.
Once the fastening works for you, use our guide to strappy heels with dresses and pants to decide how much of it to show. If you would rather have fewer loose ends to manage, compare ankle straps, slingbacks and mules before choosing your next pair.