Measure both feet from heel to longest toe, keep the units beside each number, and compare the longer measurement with the size chart on the exact sandal you want. If the chart includes width, check that too. A familiar size number is only a starting point.
Online sandal sizing becomes easier when you separate three things: the dimensions of your foot, the measurements a chart describes, and the supplier's size label. This guide walks through those checks before you choose a size.
Gather a Few Simple Tools
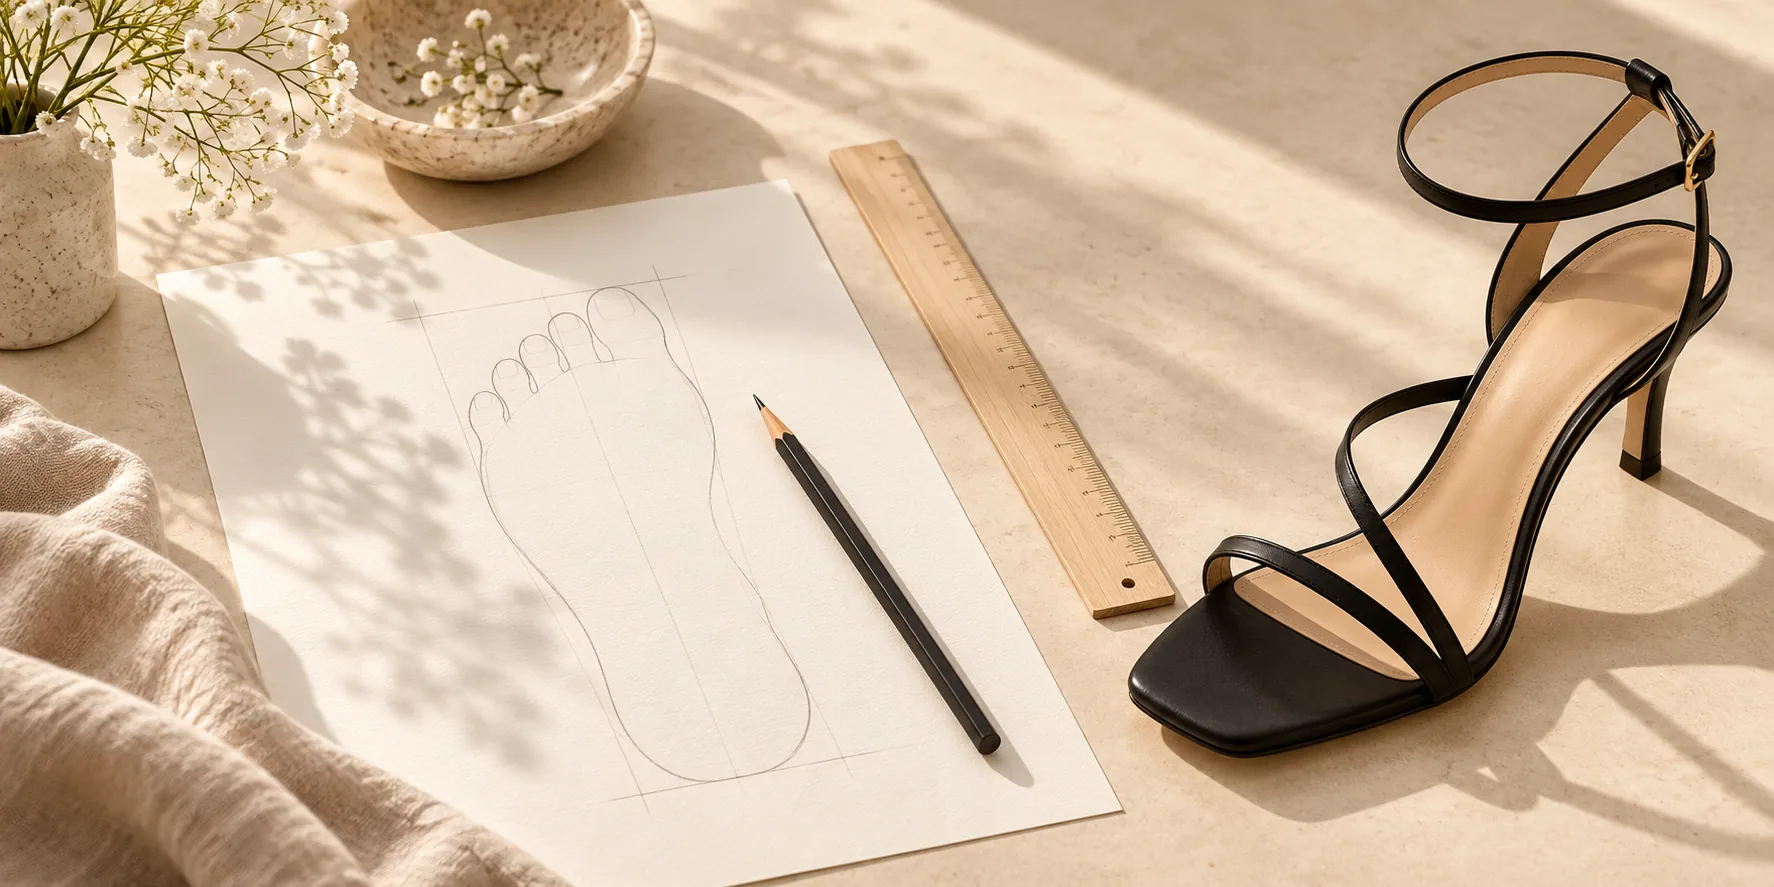
Use a sheet of paper large enough for your whole foot, a pencil, and a ruler with clear millimeter or centimeter markings. Choose a hard, level floor and a straight edge for your heel. Avoid a soft rug, which makes it harder to keep the paper and ruler flat.
Open the product's size guide before measuring. Follow any specific measuring instructions it gives. For sandals you plan to wear barefoot, measure without socks; if you intend to wear hosiery, check the fit with that layer as well. Keep a note for each foot instead of writing down only one number.
Measure from Heel to Longest Toe
- Place the paper on the floor with one edge against a straight vertical surface. Stand with your heel lightly against that surface and your foot flat.
- Have someone mark the tip of your longest toe on the paper while you remain standing. Keep the pencil upright and the toes relaxed. Your longest toe may be the second toe.
- Step off and measure straight from the heel reference line to the toe mark, with the ruler perpendicular to the heel line. Start at the ruler's zero mark, which may sit slightly inside its physical end.
- Repeat for the other foot, then repeat any measurement that looks inconsistent. Record left and right lengths and use the longer one when consulting the chart.
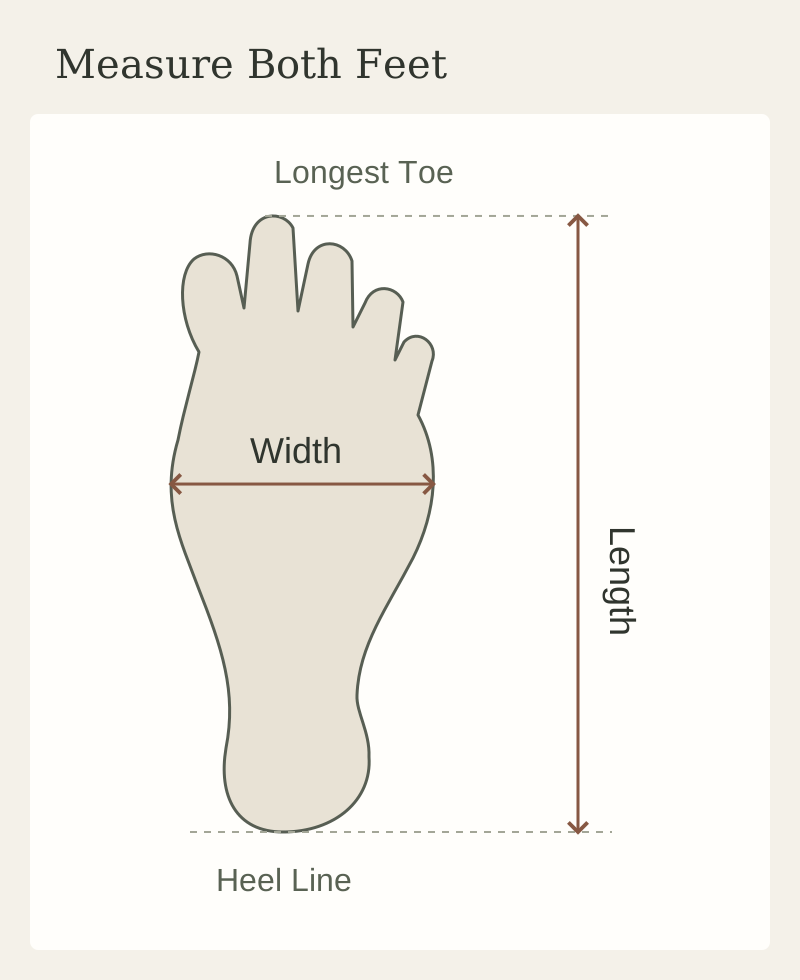
Clarks' measuring guide uses the heel-to-longest-toe method and recommends measuring both feet. The measurement method is useful here; use your chosen sandal's own chart for the size selection.
A tape curved over the top of your foot measures a different distance. Keep the length measurement along the floor rather than following the arch or the surface of the foot.
Check Width Separately
With your foot flat on the paper, mark the inner and outer edges at the broadest part of the forefoot. Measure the straight distance across and repeat for your other foot. Record both results. Birkenstock's measuring instructions also treat width as a separate measurement across the broadest point.
Read the chart heading carefully: a width across the foot is different from a circumference measured around it. Do not wrap a tape around your foot and enter that result into a column labeled foot width.
Length and width can point to different fit questions. One foot may be longer while the other is wider, so retain all four measurements. If your length matches a chart row but your width exceeds its listed width, ask about that combination rather than assuming a larger size will resolve it.
When a product only gives length, the chart cannot confirm width. A wide-looking toe or an adjustable ankle strap in a photograph does not supply the missing measurement.
Read the Units and the Measurement Name
Check both parts of a heading such as “Foot length (cm).” The word “foot” tells you what was measured; “cm” tells you the unit. Keep the unit in your notes so that 240 mm does not accidentally become 240 cm.
- Millimeters to centimeters: Divide by 10. A 240 mm foot measures 24.0 cm.
- Inches to centimeters: Multiply by 2.54. For example, 9.5 inches equals 24.13 cm.
- Foot length: The heel-to-longest-toe measurement of your foot.
- Insole or inner length: A measurement of the shoe, taken according to the seller's method.
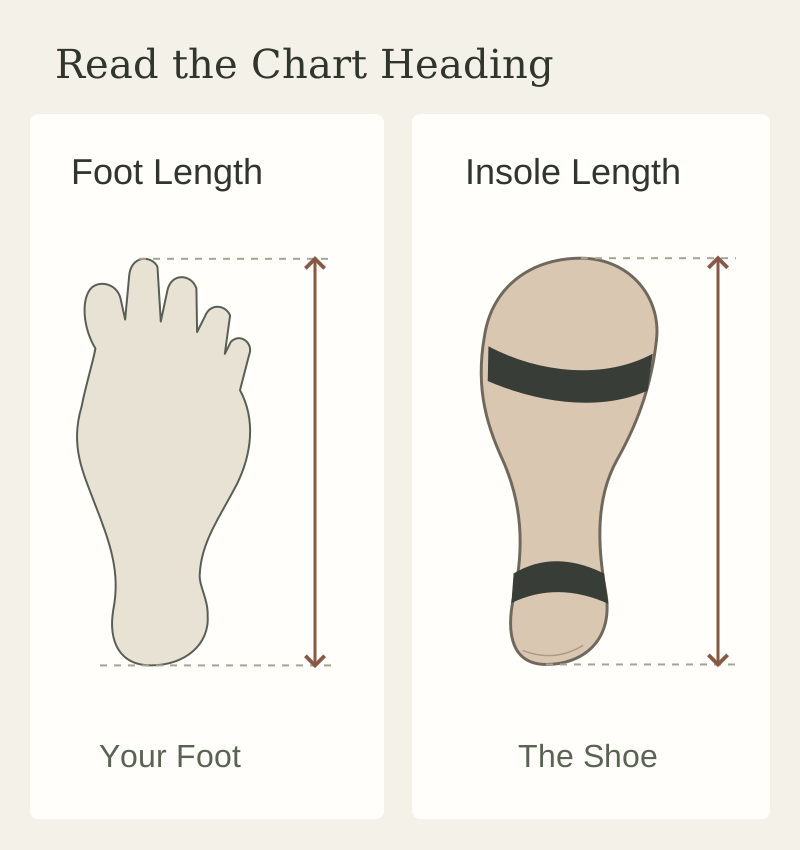
These headings matter because charts use different conventions. Be Lenka's sizing FAQ, for example, says its charts show the inner dimensions of each shoe model. Several Syncreas product guides explicitly give recommended foot lengths instead.
Do not add a standard allowance to every measurement you take. First establish whether the chart asks for your foot length or a shoe measurement, then follow that product's instructions. An allowance used by another brand or for a different shoe type should not be carried across automatically.
Use the Chart for the Exact Sandal
The same supplier size label can accompany different foot-length recommendations. These entries in the Syncreas product guides illustrate why opening the individual page matters:
- Slim-Strap Stiletto Sandals: supplier size 38 is listed with a foot length of 24.0 cm.
- Curved-Strap Slingback Stiletto Sandals: supplier size 38 is listed with a foot length of 24.2 cm.
- Rhinestone Ankle-Strap Stiletto Sandals: size 38 lists a foot length of 24 cm and a foot width of 8.3 cm.
These are examples from those products' supplier charts, not a shared Syncreas size-conversion table. Check the current Specifications section before ordering. The numbered labels should not be assumed to be US sizes, and these product guides do not provide a US-size conversion.
For example, a recorded length of 240 mm converts to 24.0 cm, which matches the length entry for size 38 in the Slim-Strap chart. That length match answers one part of the sizing question; it does not establish the fit across your foot or around the straps.
If You Fall Between Sizes, Keep the Original Measurement
If your foot measures 24.3 cm and the chart lists 24.0 cm and 24.5 cm, keep 24.3 cm in your notes. Do not round it down to make it fit a row. Look for an explicit between-sizes instruction on that product page.
If there is no instruction, ask the retailer before choosing. Include the exact product name, both foot lengths, both widths, and the units. A useful question is: “My longer foot measures 24.3 cm. Does this product's chart recommend a size for a measurement between the listed rows?” Add your width measurement if that is also a concern.
A supplier's advice to choose a larger size for one particular design applies to that design. It does not establish a rule for every sandal. If the chart or a reply leaves the fit unclear, consider a style with more complete measurements.
Make a Final Check Before Ordering
- Confirm the exact product, color and supplier size in the selector.
- Check the measurement heading and units again.
- Read any product-specific width or between-sizes notes.
- Review the returns policy, including the conditions for trying on and returning shoes.
- Keep your measurement notes so you can compare the order with the chart later.
When the sandals arrive, follow those try-on conditions. Check both feet while standing and during a short indoor try-on if permitted. Look for toes or heels extending beyond the footbed, straps that dig in, or movement that makes the fit feel insecure. A size-chart match is a starting point for this check, rather than a promise about how the pair will feel. For a closer look at the different fastening arrangements, compare ankle straps, slingbacks and mules.
Quick Sandal Sizing Questions
Should I Order My Usual Shoe Size?
Use it as a reference, then compare your measurements with the exact product's chart. A size label from another brand or another sandal does not establish the same fit.
Can I Measure a Sandal I Already Own?
Only use that comparison when the new product's guide asks for a shoe or insole measurement and explains a comparable method. Measuring an existing sandal cannot replace measuring your foot for a foot-length chart.
Does an Open Toe Mean I Should Size Down?
There is no general size-down rule for open-toe sandals. Use the product's measurement chart and fit instructions, then assess the actual pair during an allowed try-on.